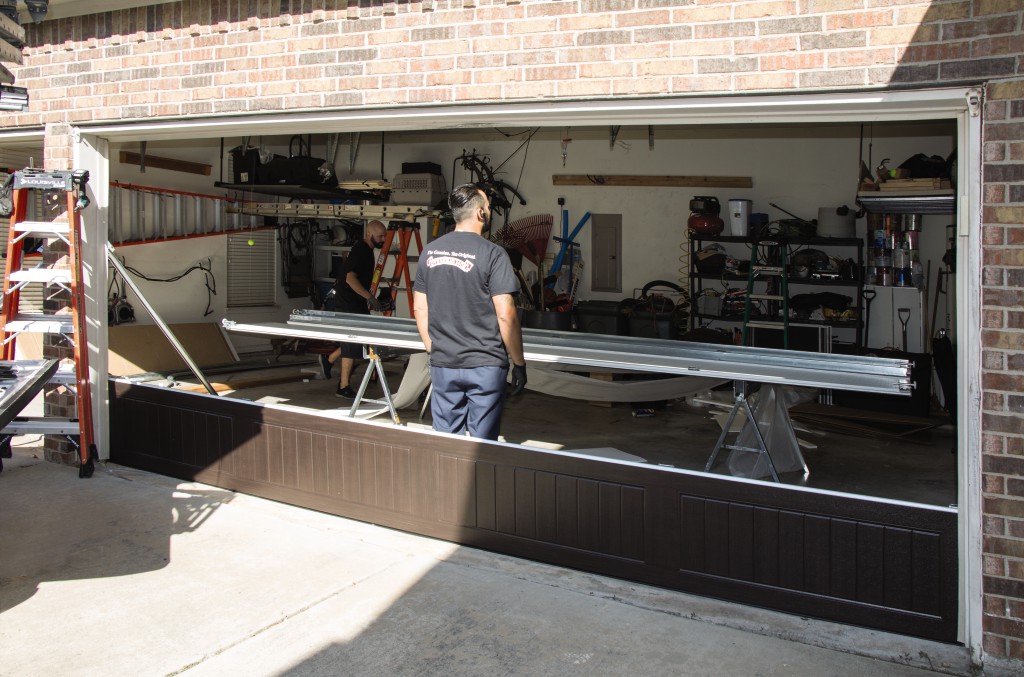
Garage Door Repair Missouri USA Torsion springs are tightly wound coils of metal that store energy and are under significant tension when the garage door is closed.

Releasing this tension safely requires following specific procedures. Here’s a detailed guide on how to release tension on a garage door torsion spring:
- Understand the Risks: Before attempting to release tension on a garage door torsion spring, it’s essential to understand the risks involved. Torsion springs are under high tension and can cause severe injury or damage if mishandled. Exercise extreme caution and consider hiring a professional if you’re unsure about performing this task yourself.
- Gather Necessary Tools and Equipment: To release tension on a torsion spring, you’ll need a few essential tools and equipment. These typically include winding bars, a sturdy ladder, safety glasses, gloves, and a marker or tape for marking reference points.
- Close the Garage Door: Before releasing tension on the torsion spring, ensure that the garage door is closed securely. This will prevent any unexpected movement of the door during the process.
- Locate the Torsion Spring Assembly: The torsion spring assembly is usually located above the garage door, parallel to the ceiling. It consists of a shaft running through the center of the springs and cable drums on either end. Take note of the winding cones or set screws at each end of the shaft, as these are used to adjust the tension on the spring.
- Identify the Wind Direction: Torsion springs are wound in either a clockwise or counterclockwise direction, depending on the configuration of the garage door. It’s crucial to determine the direction in which the spring is wound before proceeding with the release process.
- Secure the Door and Shaft: Use locking pliers or clamps to secure the garage door to prevent it from moving unexpectedly. Additionally, secure the torsion spring shaft to prevent it from rotating while releasing tension. This can be done using vice grips or locking pliers.
- Mark Reference Points: Use a marker or tape to mark reference points on the shaft and the winding cones or set screws. These reference points will help you keep track of the number of turns when releasing tension and when re-tensioning the spring later.
- Insert Winding Bars: Insert one winding bar into the hole on the winding cone or set screw at one end of the torsion spring assembly. Make sure the winding bar is securely seated in the hole.
- Release Tension Gradually: Slowly turn the winding cone or set screw in the direction opposite to the winding direction of the spring. This will release tension on the spring. Turn the winding cone or set screw a quarter turn at a time, alternating between the two winding cones if there are multiple springs. Continue releasing tension gradually until the tension is fully released from the spring.
- Remove Winding Bars and Test Door: Once the tension is released from the torsion spring, remove the winding bars and carefully test the garage door to ensure that it operates smoothly and without any resistance.
- Perform Repairs or Maintenance: With the tension released, you can now perform any necessary repairs or maintenance on the garage door system, such as replacing worn cables or springs, lubricating moving parts, or adjusting the tracks.
- Exercise Caution: Throughout the entire process of releasing tension on a garage door torsion spring, it’s essential to exercise caution and remain focused on safety. Avoid standing directly in front of the torsion spring assembly, and keep your hands and body clear of any moving parts to prevent injury.
Garage Door Repair Missouri USA However, if you’re unsure about performing this task yourself or if you encounter any difficulties, it’s best to seek help from a qualified professional. Remember that safety should always be the top priority when working with garage door springs.
Team Taylor Doors
210 SW Market St Suite 144, Lee’s Summit, MO 64063, United States
1-816-408-6999
