
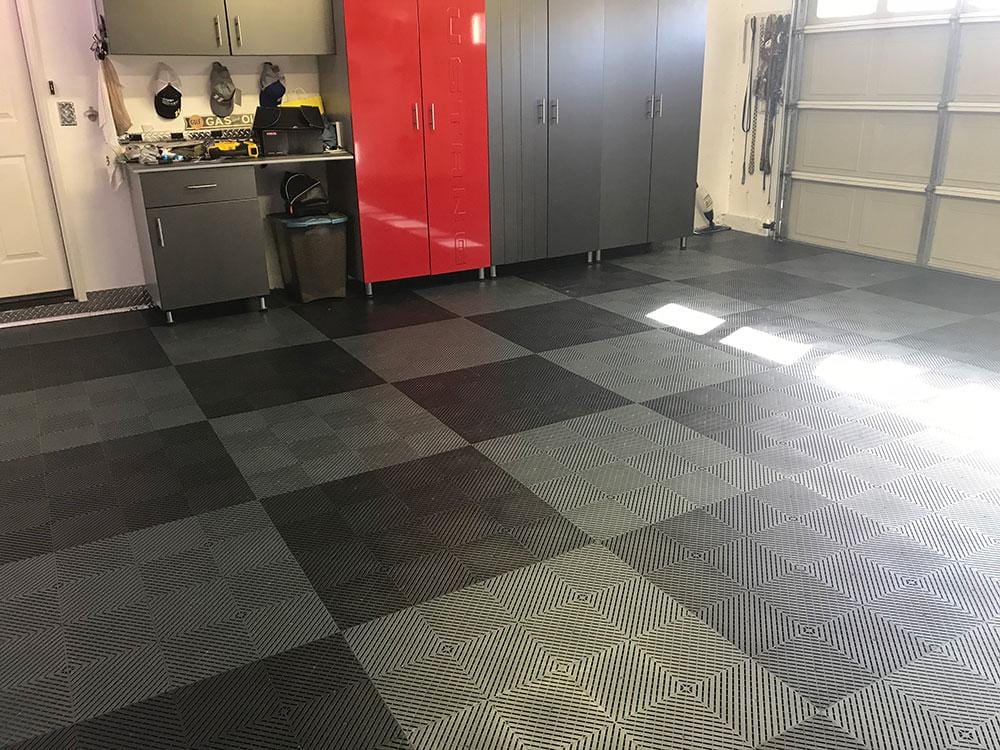
Garage Floor Chandler AZ Whether you’re looking to create a durable, attractive surface for parking vehicles, working on projects, or simply organizing your belongings, garage floor tiles offer a versatile and customizable solution.
Here’s a step-by-step guide on how to install garage floor tiles:
1. Gather Materials and Tools:
Before you begin, gather all the materials and tools you’ll need for the installation process. This typically includes garage floor tiles, transition edges or ramps (if needed), a rubber mallet or hammer, a tape measure, a straightedge or chalk line, a utility knife or saw, and any adhesive or connectors required for the specific tile system you’re using.
2. Prepare the Subfloor:
Start by preparing the subfloor surface to ensure a clean, level, and stable foundation for the tiles. Sweep or vacuum the floor to remove any dust, dirt, or debris, and then use a degreaser or cleaner to remove any oil, grease, or other contaminants. Repair any cracks or uneven areas in the concrete subfloor using a concrete patching compound, and allow it to dry completely before proceeding.
3. Plan the Layout:
Before installing the tiles, plan the layout of the garage floor to ensure a proper fit and alignment of the tiles. Start by determining the center point of the garage floor and work outward from there, using a tape measure and chalk line to mark guidelines for tile placement. Consider any obstacles such as garage doors, support columns, or built-in cabinets, and plan the layout accordingly to minimize cuts and waste.
4. Install Edge Pieces and Ramps:
If your garage floor tiles require edge pieces or ramps for a finished look and smooth transition to the surrounding floor, install these pieces first. Place the edge pieces along the perimeter of the garage floor and secure them in place using adhesive or connectors as recommended by the manufacturer. Install transition ramps at garage door thresholds or entryways to provide a smooth transition from the floor to the tiles.
5. Lay the Tiles:
With the perimeter and transition pieces in place, begin laying the garage floor tiles according to your planned layout. Start in one corner of the garage and work your way outward, interlocking the tiles together using the manufacturer’s recommended installation method. Use a rubber mallet or hammer to gently tap the tiles into place and ensure a snug fit. Check periodically with a straightedge or level to maintain a flat, even surface.
6. Cut Tiles as Needed:
As you reach the edges and corners of the garage floor, you may need to cut tiles to fit around obstacles or along walls. Measure and mark the tiles carefully, and use a utility knife, jigsaw, or tile cutter to make clean, precise cuts. Take your time to ensure accurate measurements and cuts, and double-check the fit before installing the cut tiles.
7. Finish the Installation:
Once all the tiles are installed, go over the entire garage floor to ensure that each tile is securely locked in place and that the seams are tight and even. Make any necessary adjustments or repositioning of tiles as needed. Install any additional edge pieces or ramps to complete the perimeter of the floor, and ensure that all transitions are smooth and level.
8. Clean and Maintain:
After the installation is complete, clean the garage floor tiles with a mild detergent and water solution to remove any dust or debris. Allow the floor to dry completely before using the garage space. Regular maintenance of the tiles, such as sweeping or vacuuming to remove dirt and occasional mopping with a mild cleaner, will help keep them looking new and prolong their lifespan.
9. Enjoy Your New Garage Floor:
Once the installation is finished and the floor is clean and dry, you can begin using your newly transformed garage space. Whether you’re parking vehicles, working on projects, or organizing your belongings, garage floor tiles provide a durable, attractive surface that enhances the functionality and appearance of your garage.
Conclusion:
Garage Floor Chandler AZ By following these step-by-step instructions and taking the time to plan, prepare, and install the tiles properly, you can create a durable, attractive, and functional surface that adds value to your home and enhances your daily life. With proper maintenance, your garage floor tiles will provide years of reliable performance and enjoyment.
The Garage Floor Company Arizona
2300 W Pecos Rd #126, Chandler, AZ 85224, United States
1-480-405-1661