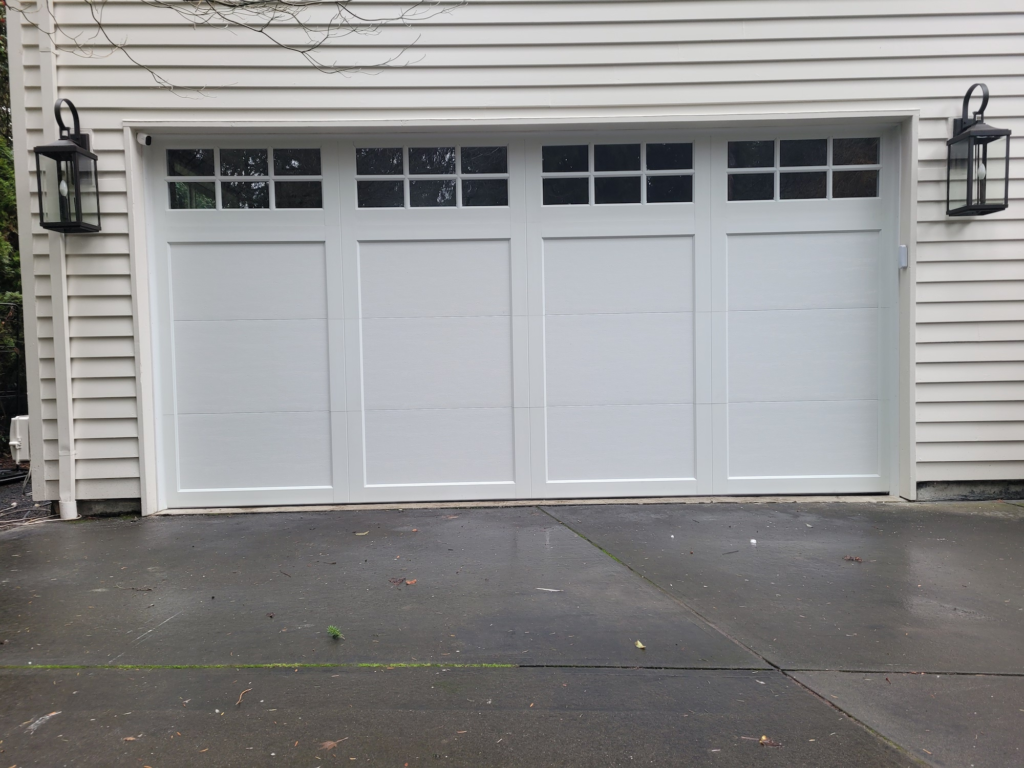
Closing gaps around a Bedford Gates & Garage Doors is essential to prevent drafts, pests, and moisture from entering your garage. Gaps can also affect the energy efficiency of your home. Depending on the size and location of the gaps, you can use various methods to seal them effectively.

Here’s a step-by-step guide on how to close gaps around a garage door:
Materials You’ll Need:
- Weatherstripping (rubber, vinyl, or brush)
- Caulk or sealant
- Screwdriver
- Measuring tape
- Utility knife
- Self-adhesive threshold seal
- Garage door bottom seal
- Nail gun (optional)
- Safety goggles and gloves
Step-by-Step Guide:
1. Inspect the Gaps:
- Carefully inspect the areas around your garage door to identify the gaps. Check both the sides and the bottom of the door for any openings that need sealing.
2. Measure the Gaps:
- Use a measuring tape to measure the width and length of the gaps. This will help you determine the appropriate materials and methods to use for sealing.
3. Weatherstripping for Sides:
- Weatherstripping is an effective way to seal gaps along the sides of the garage door. Choose either rubber, vinyl, or brush weatherstripping, depending on your needs and preferences.
- Open the garage door and measure the height of the gaps along the sides. Cut the weatherstripping to the appropriate length.
- Peel off the backing from the weatherstripping and press it onto the inside edge of the door frame, creating a seal between the door and the frame. Repeat this process on both sides of the door.
4. Threshold Seal for Bottom:
- To seal the gap along the bottom of the garage door, install a self-adhesive threshold seal. This type of seal is designed to prevent drafts, debris, and pests from entering the garage.
- Measure the width of the garage door opening and cut the threshold seal to the appropriate length using a utility knife.
- Peel off the backing from the threshold seal and place it along the bottom edge of the garage door opening. Press it firmly to ensure it adheres securely.
5. Garage Door Bottom Seal:
- If the gap along the bottom of the door is significant, you may need to install a garage door bottom seal. This seal is designed to close larger gaps and provide better insulation.
- Remove the existing bottom seal (if applicable) by pulling it out of the track at the bottom of the door.
- Slide the new garage door bottom seal into the track, making sure it fits snugly against the garage floor. Trim any excess seal using a utility knife.
6. Caulk and Sealant:
- For gaps or cracks in the garage door frame or around windows, use caulk or sealant to create a watertight and airtight seal.
- Apply caulk or sealant to the gaps and use a putty knife or your finger to smooth it out. This will prevent water infiltration and improve insulation.
7. Nail Gun (if needed):
- For larger gaps or sections that require more secure sealing, you can use a nail gun to attach trim or molding along the sides and top of the garage door frame.
8. Test the Seals:
- Close the garage door and check for any light passing through. If you see light coming in, it indicates that there are still gaps that need to be sealed.
9. Regular Maintenance:
- Periodically check the weatherstripping, threshold seal, and bottom seal for wear or damage. Replace them if needed to ensure continued effectiveness.
Conclusion:
Closing gaps around a Bedford Gates & Garage Doors is a practical way to enhance energy efficiency, prevent drafts, and keep out unwanted elements. By following the steps above and using appropriate weatherstripping, threshold seals, and other sealing methods, you can effectively seal gaps around your garage door and create a more comfortable and secure environment inside your garage.
Bedford Gates & Garage Doors
2201 Harwood Rd, Bedford, TX 76021, United States
1-817-886-3064
