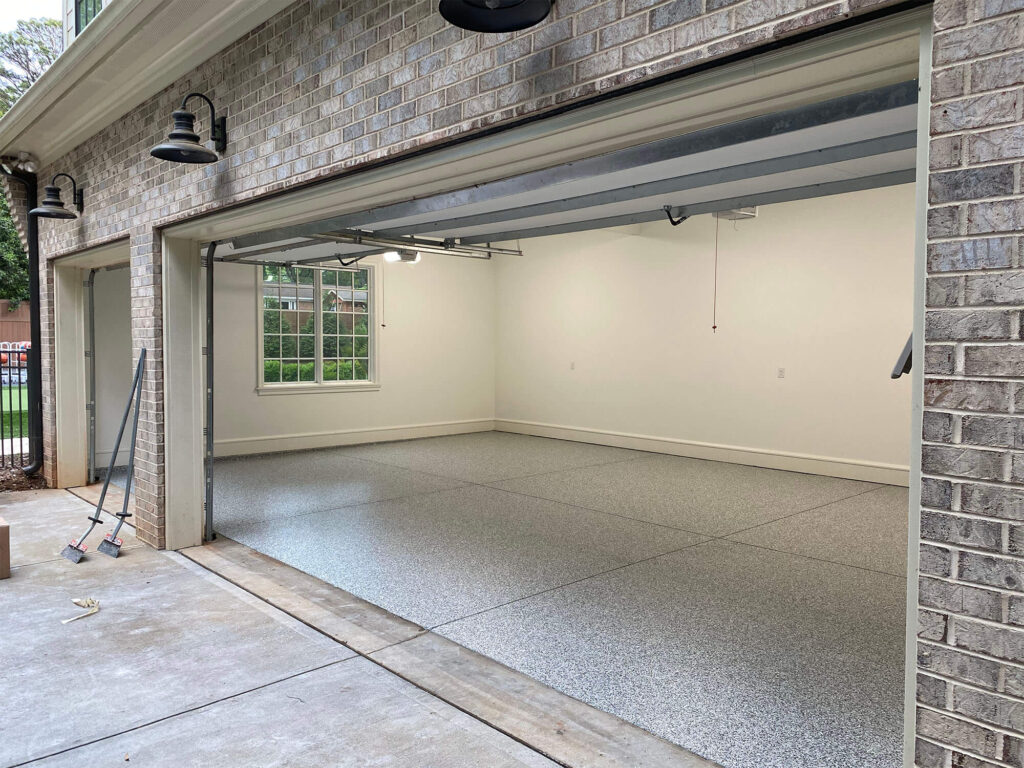
Epoxy coating is a popular choice for Garage Floor Omaha NE due to its durability, resistance to chemicals, and ease of maintenance. However, proper preparation of the garage floor is crucial to ensure the success and longevity of the epoxy coating.

In this comprehensive guide, we’ll walk you through the step-by-step process of preparing your garage floor for epoxy coating to achieve a professional and long-lasting finish.
Tools and Materials Needed
Before you begin the preparation process, gather the following tools and materials:
- Broom or shop vacuum
- Pressure washer or hose with high-pressure nozzle
- Degreaser or concrete cleaner
- Scrub brush or stiff-bristled broom
- Concrete patch or repair compound
- Putty knife or trowel
- Concrete etching solution
- Bucket
- Safety goggles and gloves
- Protective clothing
- Plastic sheeting or drop cloths
Step-by-Step Preparation Process
1. Clear the Garage
Start by removing all items from the garage, including vehicles, tools, and storage items. Sweep the floor thoroughly to remove any loose dirt, dust, and debris. Alternatively, use a shop vacuum to clean up the garage floor.
2. Degrease the Floor
Next, tackle any oil stains, grease spots, or other contaminants on the garage floor. Apply a degreaser or concrete cleaner to the affected areas and scrub them with a stiff-bristled brush or broom. Allow the cleaner to sit for a few minutes, then rinse the floor with a pressure washer or hose with a high-pressure nozzle to remove the residue.
3. Repair Cracks and Imperfections
Inspect the garage floor for any cracks, holes, or uneven surfaces. Use a concrete patch or repair compound to fill in any cracks or holes, following the manufacturer’s instructions. Smooth the patch with a putty knife or trowel and allow it to dry completely before proceeding.
4. Etch the Concrete
Etching the concrete is essential to ensure proper adhesion of the epoxy coating. Mix the concrete etching solution with water in a bucket according to the manufacturer’s instructions. Apply the solution to the garage floor using a pump sprayer or watering can, working in small sections at a time.
5. Scrub the Floor
Once the etching solution is applied, use a scrub brush or stiff-bristled broom to scrub the garage floor thoroughly. This will help remove any remaining dirt, grease, or contaminants and open up the pores of the concrete for better adhesion of the epoxy coating. Rinse the floor with clean water to remove the etching solution and debris.
6. Allow the Floor to Dry
After cleaning and etching the garage floor, allow it to dry completely before applying the epoxy coating. This may take several hours or even overnight, depending on the temperature and humidity levels in your area. Ensure that the floor is completely dry before proceeding to the next step.
7. Protect Surrounding Areas
Before applying the epoxy coating, take steps to protect surrounding areas from accidental spills or splatters. Lay down plastic sheeting or drop cloths along the walls and edges of the garage floor to prevent the epoxy from staining or adhering to these surfaces.
8. Begin Epoxy Coating Application
Once the garage floor is clean, dry, and protected, you’re ready to begin applying the epoxy coating. Follow the manufacturer’s instructions carefully, mixing the epoxy resin and hardener together according to the specified ratios. Use a roller or squeegee to apply the epoxy coating evenly to the garage floor, working in small sections at a time.
9. Allow the Coating to Cure
After applying the epoxy coating, allow it to cure according to the manufacturer’s instructions. This typically involves letting the coating dry for a specified period, often 24 to 48 hours, before allowing foot traffic or parking vehicles on the garage floor. Ensure proper ventilation during the curing process to help expedite drying and minimize odors.
10. Apply a Second Coat (Optional)
For added durability and protection, consider applying a second coat of epoxy coating to the garage floor. Follow the same process as before, allowing the first coat to dry completely before applying the second coat. This will provide an extra layer of protection and enhance the appearance of the garage floor.
Conclusion:
Preparing your garage floor for epoxy coating is a crucial step in achieving a durable, long-lasting finish that enhances the appearance and functionality of your garage. By following the step-by-step process outlined in this guide and taking the time to properly clean, repair, and etch the concrete surface, you can ensure the success of your epoxy coating project and enjoy a beautiful and resilient garage floor for years to come.
The Garage Floor Company Omaha
15125 Industrial Rd, Omaha, NE 68144, United States
1-402-576-5599

