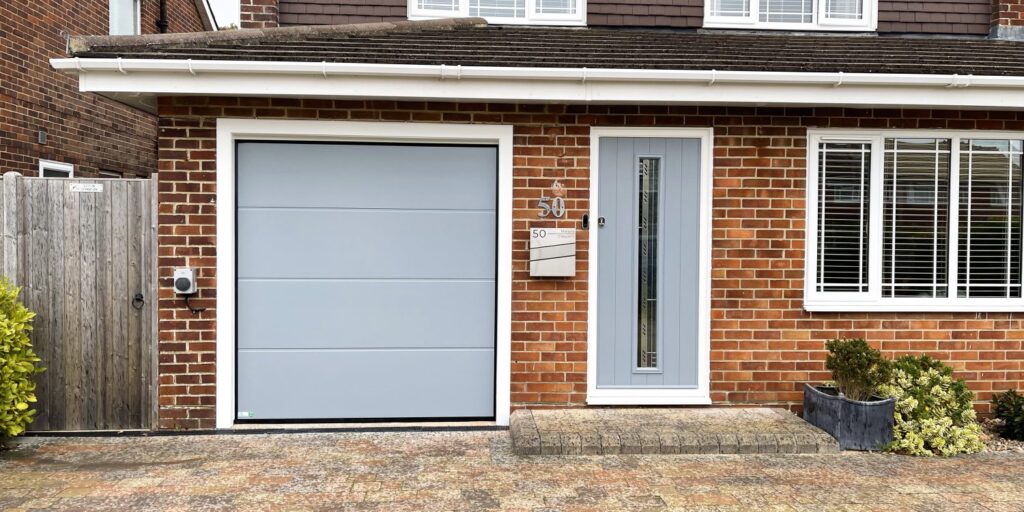
Replacing Laguna Hills Garage Door Repair is a task that requires attention to detail and safety precautions.

In this comprehensive guide, we’ll walk you through the step-by-step process of replacing garage door sensors, ensuring a smooth and effective installation.
: Gather Necessary Tools and Materials:
Before you begin the replacement process, make sure you have the following tools and materials:
- New garage door sensors compatible with your opener model.
- Screwdriver (usually Phillips or flat-head, depending on the screws used).
- Wire nuts.
- Wire strippers.
- Electrical tape.
- Level.
- Pliers.
: Turn Off Power to the Garage Door Opener:
Ensure the safety of the installation process by disconnecting power to the garage door opener. This typically involves unplugging the opener from the electrical outlet or turning off the circuit breaker that supplies power to the garage.
: Remove Old Sensors:
Locate the existing sensors mounted on each side of the garage door, near the floor. Use a screwdriver to carefully remove the screws securing the sensors to their brackets. Once the sensors are detached, disconnect the wiring from the back of each sensor.
: Remove Sensor Brackets:
After removing the sensors, take note of the sensor brackets still attached to the garage door frame. Use a screwdriver to loosen and remove these brackets.
: Install New Sensor Brackets:
Position the new sensor brackets at the same locations where the old ones were mounted. Ensure they are level and use the appropriate screws to secure them in place. A level is crucial to ensure the sensors function properly.
: Attach New Sensors to Brackets:
Connect the new sensors to the brackets by sliding them into place. Secure each sensor with the provided screws. Make sure the sensors are aligned and facing each other with a clear line of sight.
: Connect Wiring:
Carefully connect the wiring from the new sensors to the corresponding terminals on the back of the garage door opener unit. Follow the color-coding on the wires (usually white and black) and use wire nuts to secure the connections. Wrap the connections with electrical tape for added protection.
: Adjust Sensor Alignment:
Proper sensor alignment is crucial for the garage door to operate smoothly. Use a level to ensure that both sensors are at the same height and facing each other without any obstructions. Adjust the brackets if necessary.
: Test the Garage Door:
After installation, restore power to the garage door opener and test the functionality. Close and open the garage door using the wall switch or remote control. Ensure that the door operates smoothly without any hesitation.
: Fine-Tune Sensor Alignment:
If the garage door doesn’t close or opens partially, recheck the sensor alignment. Small adjustments to the brackets or sensors may be needed to achieve optimal alignment.
: Secure Wiring:
Once you are satisfied with the sensor alignment and the garage door’s performance, secure the wiring along the garage door frame using clips or zip ties. This helps prevent accidental damage to the wires and ensures a tidy appearance.
: Perform Regular Maintenance:
To prolong the lifespan of your new sensors, perform regular maintenance checks. Clean the sensors and ensure they remain free from dirt, debris, or any obstruction that could interfere with their operation.
Conclusion:
By following these detailed steps, you can successfully replace your Laguna Hills Garage Door Repair, ensuring a secure and efficient operation of your garage door system. Always refer to the specific instructions provided with your new sensors and consult the garage door opener manual for any model-specific details. If you encounter difficulties or uncertainties during the process, consider seeking assistance from a professional garage door technician to ensure proper installation and functionality.
Laguna Hills Garage & Overhead Doors
25361 McIntyre St #5, Laguna Hills, CA 92653, United States
1-949-776-5549
