
Aligning LiftMaster Garage Door Repair Lake Forest CA sensors is essential to ensure the safe and reliable operation of your garage door system. The sensors prevent the door from closing if an object or obstruction is detected in its path. If the sensors are misaligned, the door might not close properly or could reverse unexpectedly.
Here’s a step-by-step guide on how to align LiftMaster garage door sensors:
1. Safety First: Before working on your garage door system, ensure your safety by disconnecting the power to the garage door opener. This prevents any accidental activation while you’re adjusting the sensors.
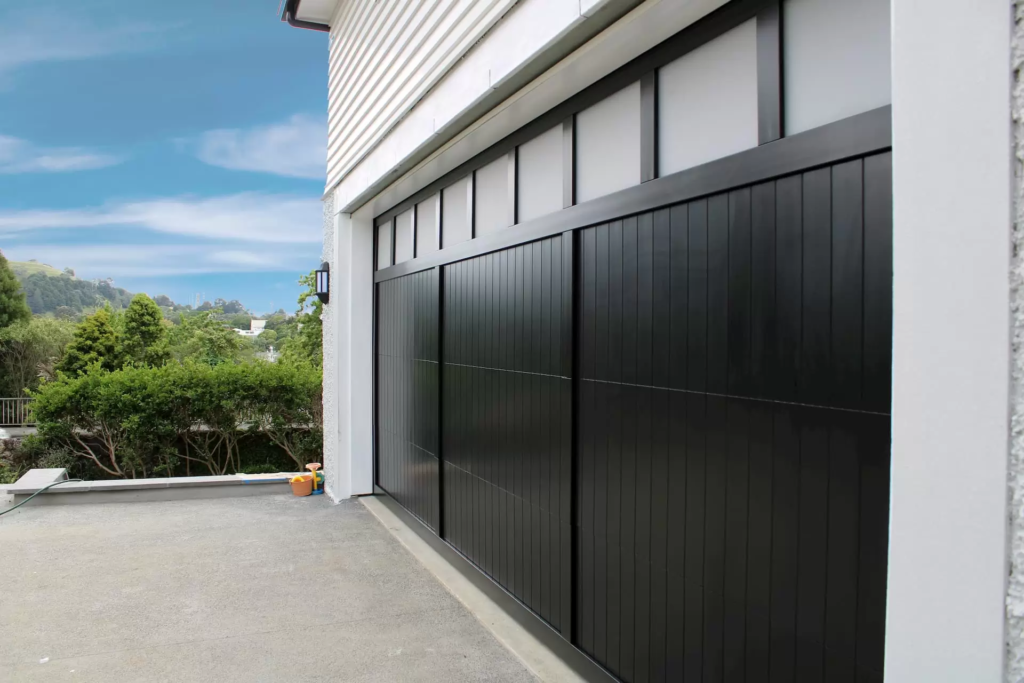
2. Identify Sensor Placement: LiftMaster garage door sensors consist of two units – the sending unit (transmitter) and the receiving unit (receiver). The sending unit emits an invisible beam of light that is received by the receiving unit. These units are usually located on either side of the garage door, about 6 inches above the ground.
3. Check Sensor Alignment: Observe the LED lights on both the sending and receiving units. The LED lights indicate the status of the sensors. If the sensors are misaligned, one or both lights might be blinking or not lit at all.
4. Clean the Sensors: Dirt, dust, or debris on the sensors’ lenses can interfere with the beam of light and cause alignment issues. Gently clean the sensor lenses using a soft cloth or a mild cleaner. Ensure the lenses are free of any obstructions that might affect their functionality.
5. Adjust Sensor Position: To align the sensors, follow these steps:
- Horizontal Alignment: The sending and receiving units should be aligned horizontally. Check that the sensors are at the same height on both sides of the door. Use a level to ensure they are parallel to the ground.
- Vertical Alignment: The sensors should also be aligned vertically. Use a tape measure to ensure that the distance from the ground to the center of each sensor is the same on both sides.
6. Realign Brackets: LiftMaster sensors are usually mounted on brackets that allow for adjustment. To align the sensors:
- Loosen the screws securing the brackets to the wall or track.
- Gently move the sensors up, down, left, or right to align them correctly.
- Use a level to ensure the sensors are aligned both horizontally and vertically.
- Once aligned, tighten the screws to secure the sensors in place.
7. Check LED Lights: After realigning the sensors, observe the LED lights again. The LED lights on both the sending and receiving units should now be solid and not blinking.
8. Test Operation: With the sensors aligned, it’s time to test the operation of your garage door. Reconnect the power to the garage door opener and activate the door to close using the remote control or wall-mounted button. If the sensors are aligned correctly, the door should close smoothly without any issues. If the door doesn’t close or reverses unexpectedly, recheck the alignment and repeat the process.
9. Regular Maintenance: Include sensor alignment in your regular garage door maintenance routine. Check the sensors periodically to ensure they remain properly aligned. Dirt, vibrations, or accidental bumps can cause misalignment over time.
10. Seek Professional Help: If you’re unable to align the sensors successfully, or if you’re not comfortable with performing the alignment yourself, consider seeking assistance from a professional garage door technician. They have the experience and tools to ensure proper sensor alignment and safe operation.
In Conclusion: Aligning LiftMaster Garage Door Repair Lake Forest CA sensors is a critical step in maintaining the safety and functionality of your garage door system. By following these steps and regularly checking the alignment, you can ensure that the sensors are working as intended and that your garage door operates smoothly and securely. Remember to prioritize safety and consult a professional if you encounter difficulties during the alignment process.
Lake Forest Garage & Overhead Doors
26111 Birendra #4, Lake Forest, CA 92630, United States
949-356-7568