
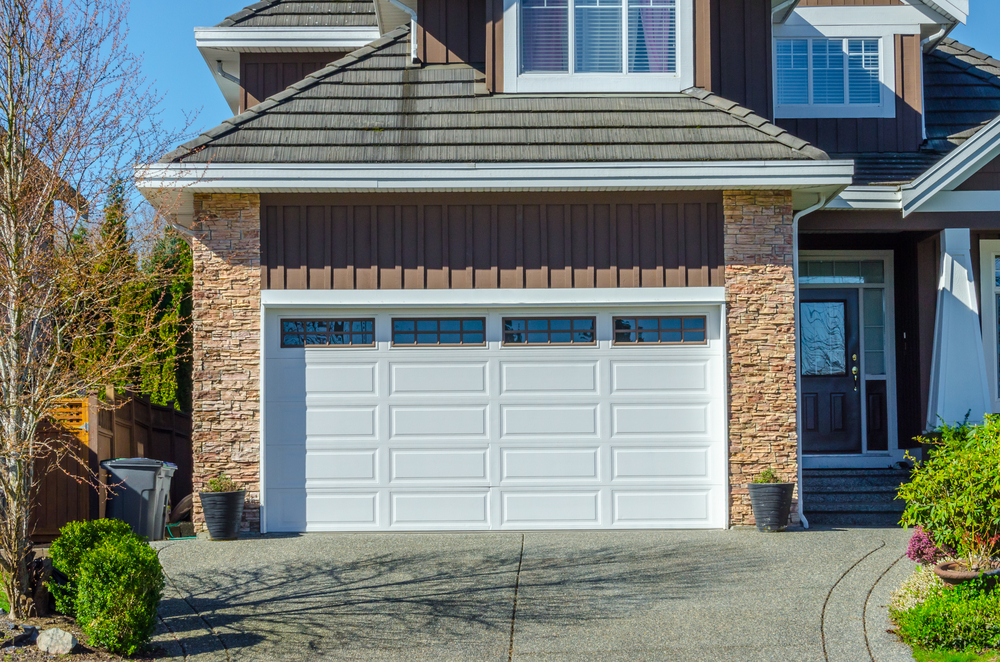
Adjusting your Garage Door Repair Rockwall TX is an essential maintenance task that ensures smooth and efficient operation of your garage door.
Whether your door is opening or closing too quickly, making excessive noise, or not closing properly, proper adjustment can resolve these issues and prolong the lifespan of your garage door opener. In this guide, we’ll walk you through the steps to adjust your Chamberlain garage door opener, covering common adjustments such as travel limits, force settings, and safety sensor alignment.
Understanding Your Chamberlain Garage Door Opener
Before adjusting your Chamberlain garage door opener, it’s essential to familiarize yourself with its components and operation.
Types of Chamberlain Garage Door Openers
Chamberlain offers a range of garage door opener models, including chain-drive, belt-drive, and screw-drive options. Each type operates using a different mechanism, but the adjustment process is similar across all models.
Common Adjustments for Chamberlain Garage Door Openers
1. Adjusting Travel Limits
Travel limits control how far the garage door opens and closes. If your door is not opening or closing fully, you may need to adjust the travel limits.
Steps to Adjust Travel Limits:
- Locate the limit adjustment screws on the opener unit.
- Use a screwdriver to turn the limit adjustment screws clockwise to decrease the travel distance or counterclockwise to increase it.
- Test the door’s operation after each adjustment until it opens and closes fully without hesitation.
2. Adjusting Force Settings
Force settings determine the amount of force exerted by the garage door opener when opening and closing the door. If the door is closing too forcefully or not closing properly, you may need to adjust the force settings.
Steps to Adjust Force Settings:
- Locate the force adjustment knobs on the opener unit.
- Turn the force adjustment knobs clockwise to increase the force or counterclockwise to decrease it.
- Test the door’s operation after each adjustment to ensure smooth and balanced movement.
3. Aligning Safety Sensors
Safety sensors are located near the bottom of the garage door tracks and prevent the door from closing if they detect an obstruction in the door’s path. If your garage door is not closing properly or reversing unexpectedly, you may need to realign the safety sensors.
Steps to Align Safety Sensors:
- Check for any obstructions blocking the path of the sensors.
- Loosen the wing nuts or screws holding the sensors in place.
- Adjust the sensors until they are aligned with each other and the indicator lights on both sensors are illuminated.
- Tighten the wing nuts or screws to secure the sensors in place.
Tips for Successful Adjustment
- Safety First: Always disconnect the power to the garage door opener before performing any adjustments to prevent accidents or injuries.
- Take Your Time: Adjustments may require multiple attempts to achieve the desired results, so be patient and thorough in your approach.
- Refer to the Manual: Consult the owner’s manual for your Chamberlain garage door opener for specific instructions and guidance on adjustment procedures.
- Test Regularly: After making adjustments, test the door’s operation multiple times to ensure smooth and consistent movement.
Conclusion:
Adjusting your Chamberlain garage door opener is a straightforward process that can resolve common issues such as improper operation, excessive noise, and safety sensor misalignment. By following the steps outlined in this guide and taking necessary safety precautions, you can ensure the optimal performance and longevity of your garage door opener.
BH Garage Doors and Gates
4035 N Goliad St, Rockwall, TX 75087, United States
1-214-206-5231